How protection works
NetworkPause reduces your PC’s exposure to the Internet and local network while you’re away. When its screen saver starts, the app blocks network connections using the selected mode. It automatically restores access when you return.
In firewall mode, you can choose which apps stay connected and separately allow your VPN. The screen saver, turning off the display and putting the whole PC to sleep are distinct Windows states. If you use full sleep, verify how it behaves separately on your PC.
Install and get started
- Download the official installer for Windows 10 or 11 x64. Once downloaded, you can install offline.
- Run the installer, choose the folder and approve the Windows prompt. The installer adds the app, screen saver and Windows service. Because the installer has no Authenticode signature, Windows may show “Unknown publisher.”
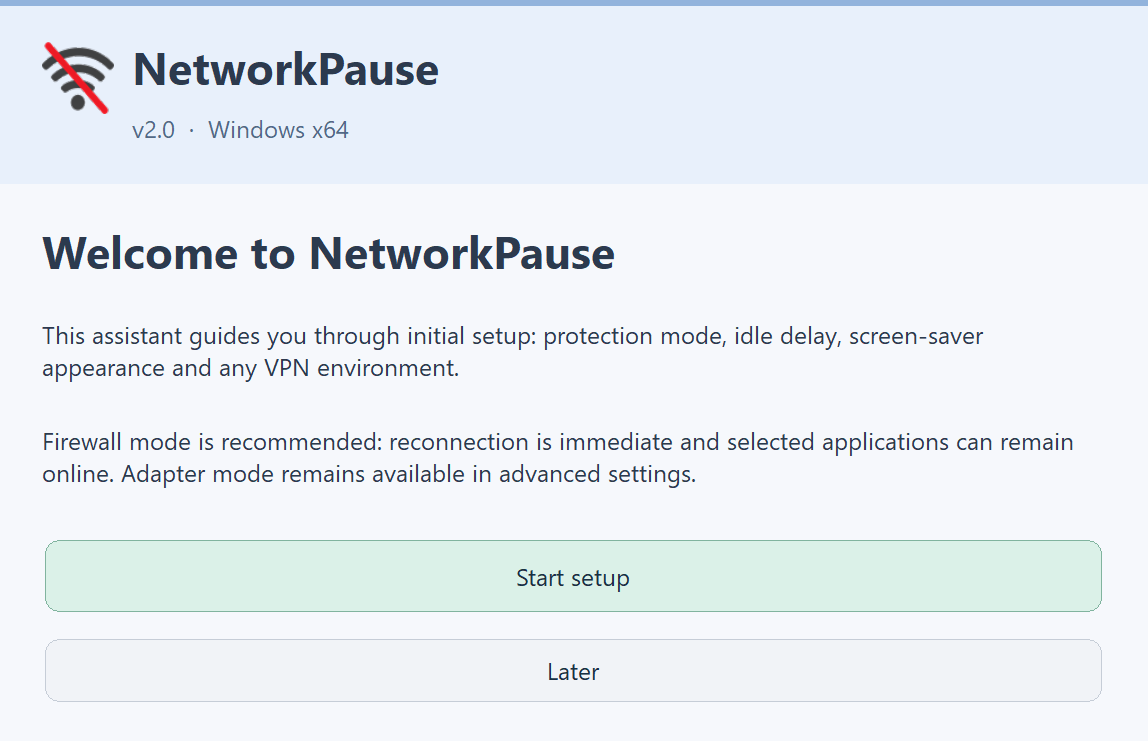
- Open NetworkPause and click Start setup to choose the mode and configure the screen saver. You can do this later from Advanced settings → Run the setup assistant again.
Installing alone does not select the screen saver. You can also start from the main protection button. After installation, personal settings are available to a standard user. Changing the service or network mode may require administrator approval.
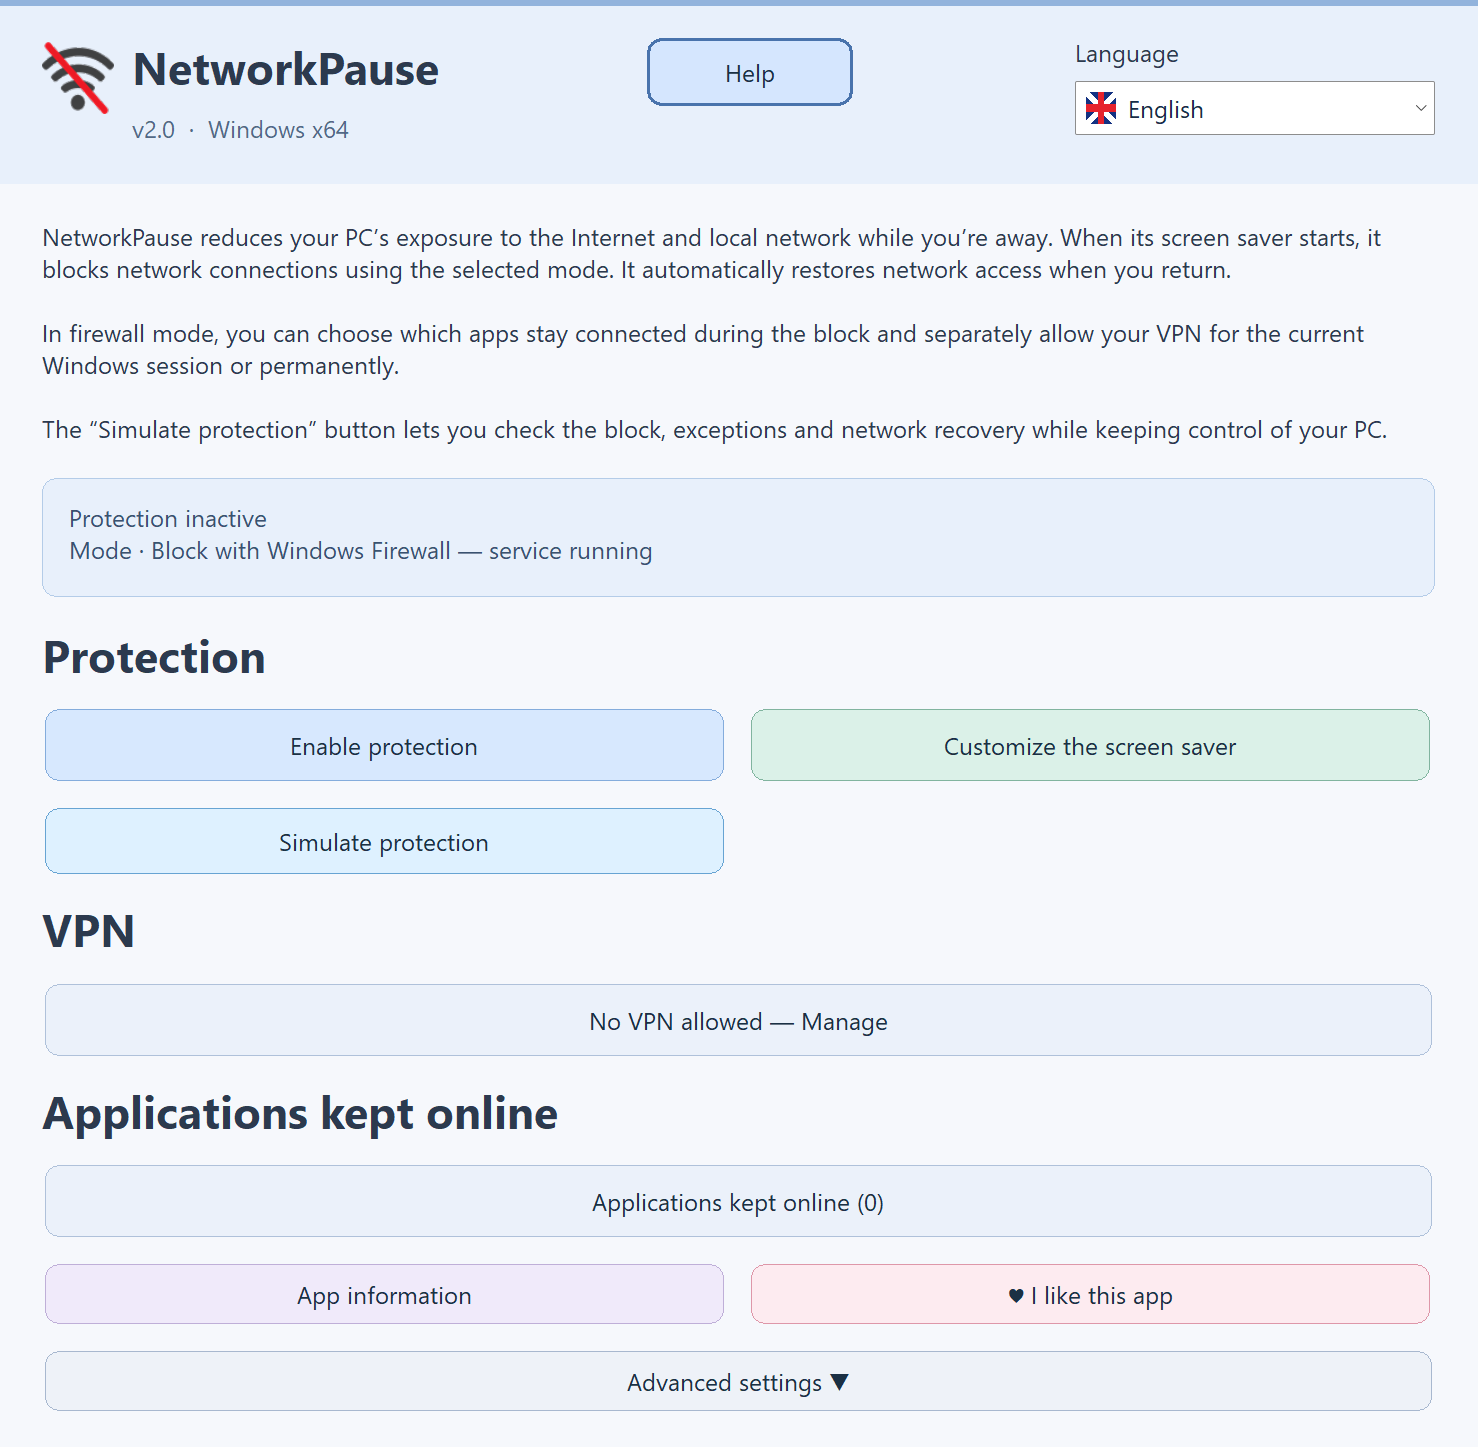
Open NetworkPause
The panel below the introduction shows the current protection state, mode and idle delay if the screen saver is scheduled.
- Protection scheduled — network not blocked means the screen saver is configured and waiting for the idle delay.
- Network blocking active means the block is in effect. Restoring the network appears while network access is being restored.
- Protection inactive or Protection stopped prompts you to check which screen saver is selected and whether the service is running. The main button offers the appropriate action.
Enable protection selects the NetworkPause screen saver. Choose a blocking mode at first activation if one hasn’t been configured. Network access stays available until the screen saver starts after the idle delay.
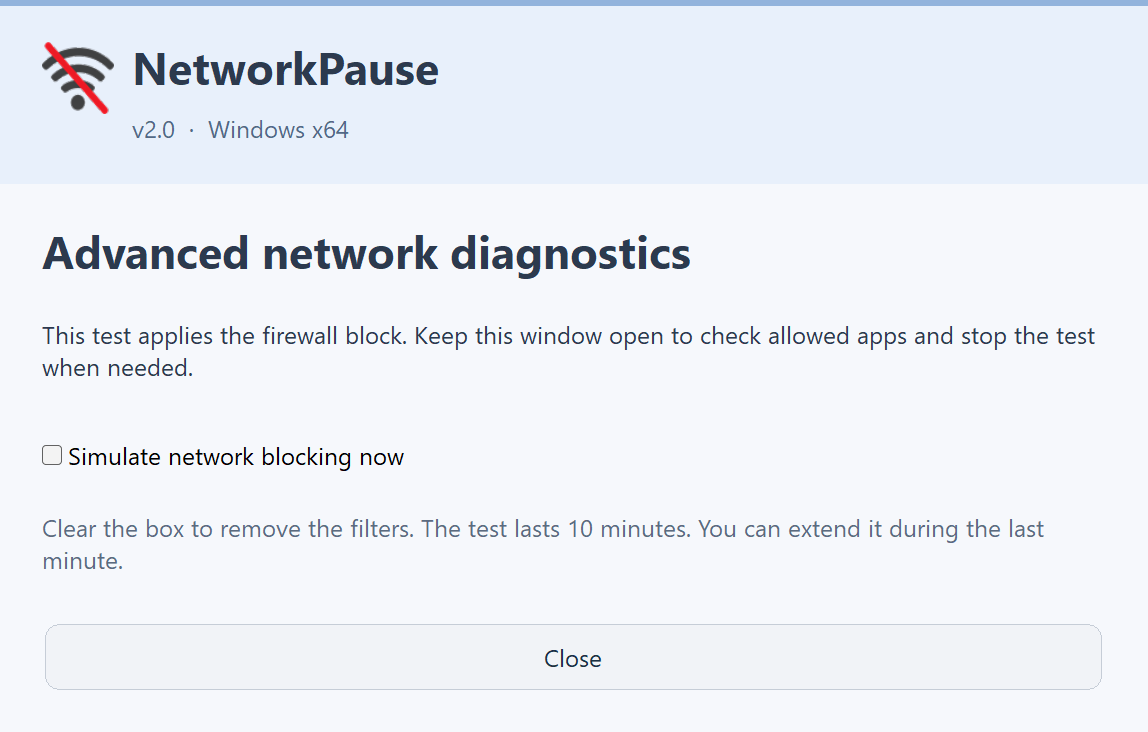
Simulate protection opens the firewall test. Select Simulate network blocking now and confirm to apply the block while keeping the desktop accessible. Clear the checkbox to stop the test. See Testing protection for the full procedure.
Disable protection removes the NetworkPause screen saver from the Windows selection. You can also enable or disable it from the notification icon menu. Hover over a button for a tooltip or open Help for explanations in the app.
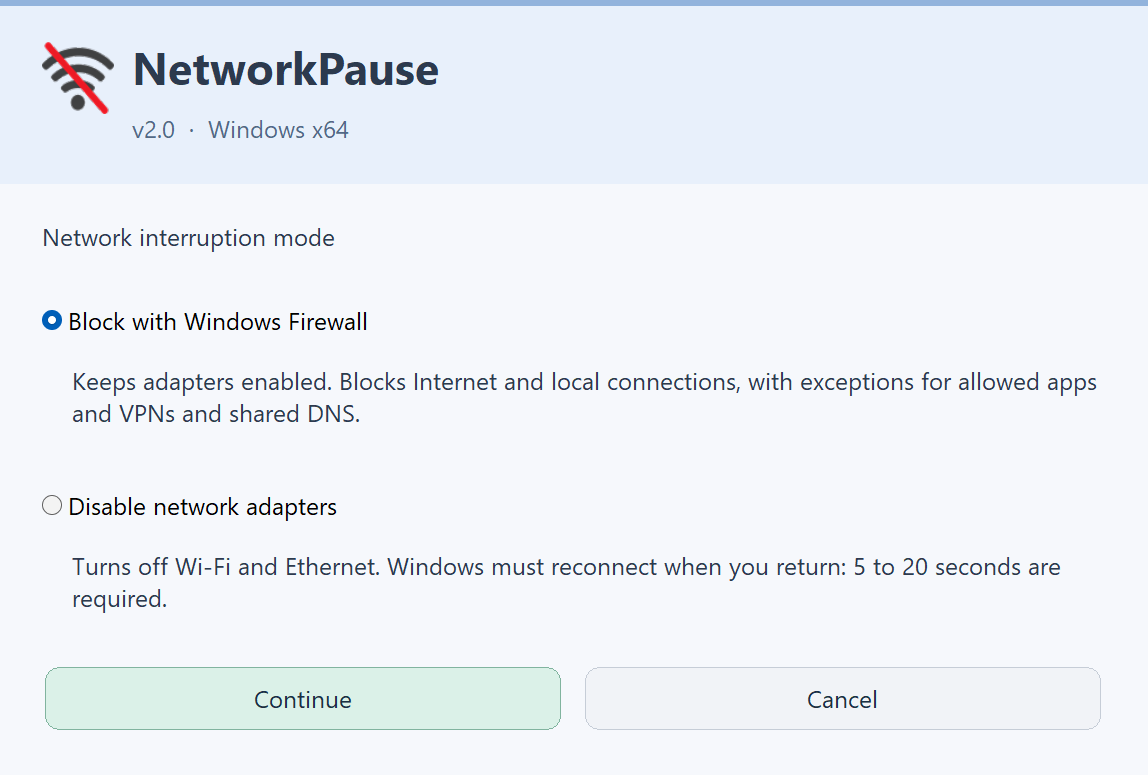
Choose a blocking mode
Open Advanced settings → Network interruption mode and choose the mode that fits your needs.
- Firewall blocking. The adapters stay active. Rules block incoming and outgoing connections on the Internet and local network. You can allow selected apps to make outgoing connections and receive their replies. Simulation is available in this mode.
- Disable network adapters. NetworkPause temporarily disables supported physical Ethernet and Wi-Fi adapters. It re-enables the ones it disabled, while adapters that were already disabled stay off. Reconnection time depends on Windows, the hardware and any VPN.
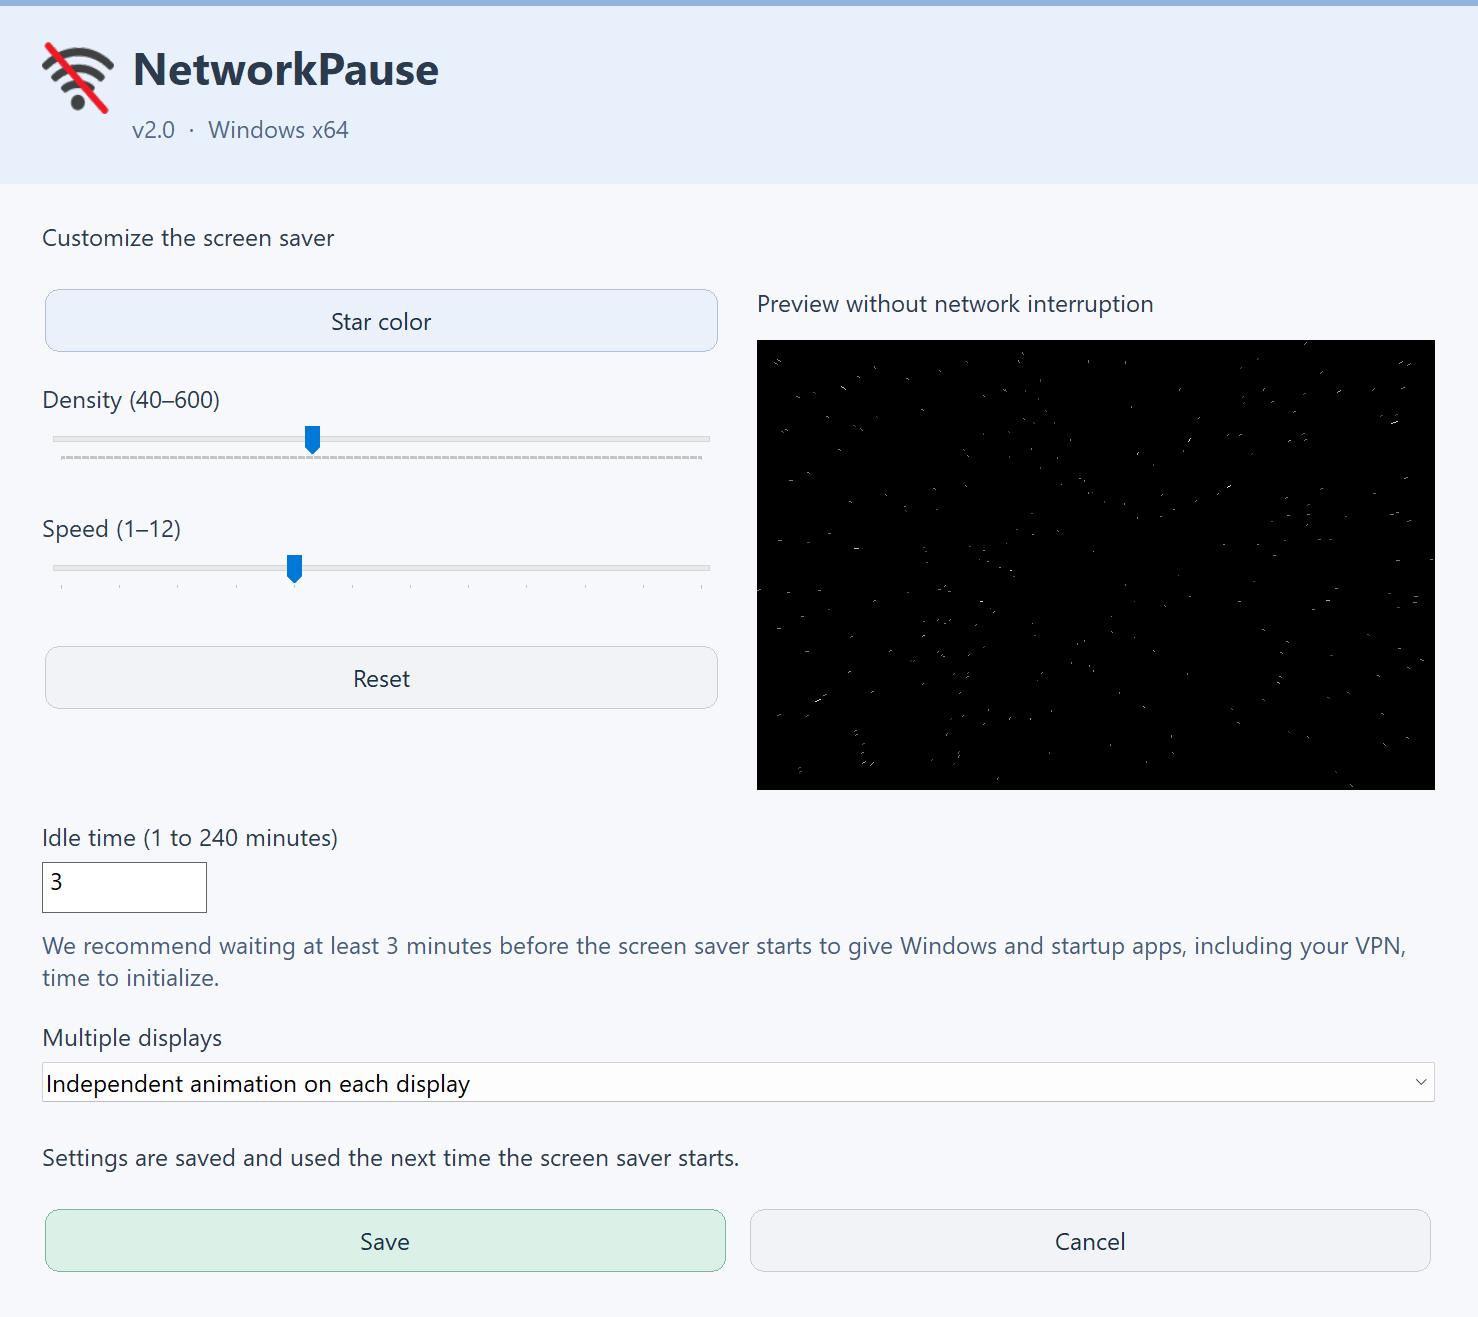
Set up the screen saver
Open Customize the screen saver to adjust the stars’ colour, density and speed. The preview shows the animation without interrupting the network. On multiple displays, choose independent animation, panorama or the primary screen only.
The idle delay can be set from 1 to 240 minutes. Allow at least 3 minutes for Windows and startup apps, including your VPN, to initialise. NetworkPause keeps a saved value.
To require Windows sign-in when you return, open Advanced settings → Windows screen saver settings and enable On resume, display logon screen.
Allow apps during blocking
App exceptions are available only in Firewall blocking mode. Select it in Advanced settings → Network interruption mode.
- Start the app you want to allow, even if it runs in the background.
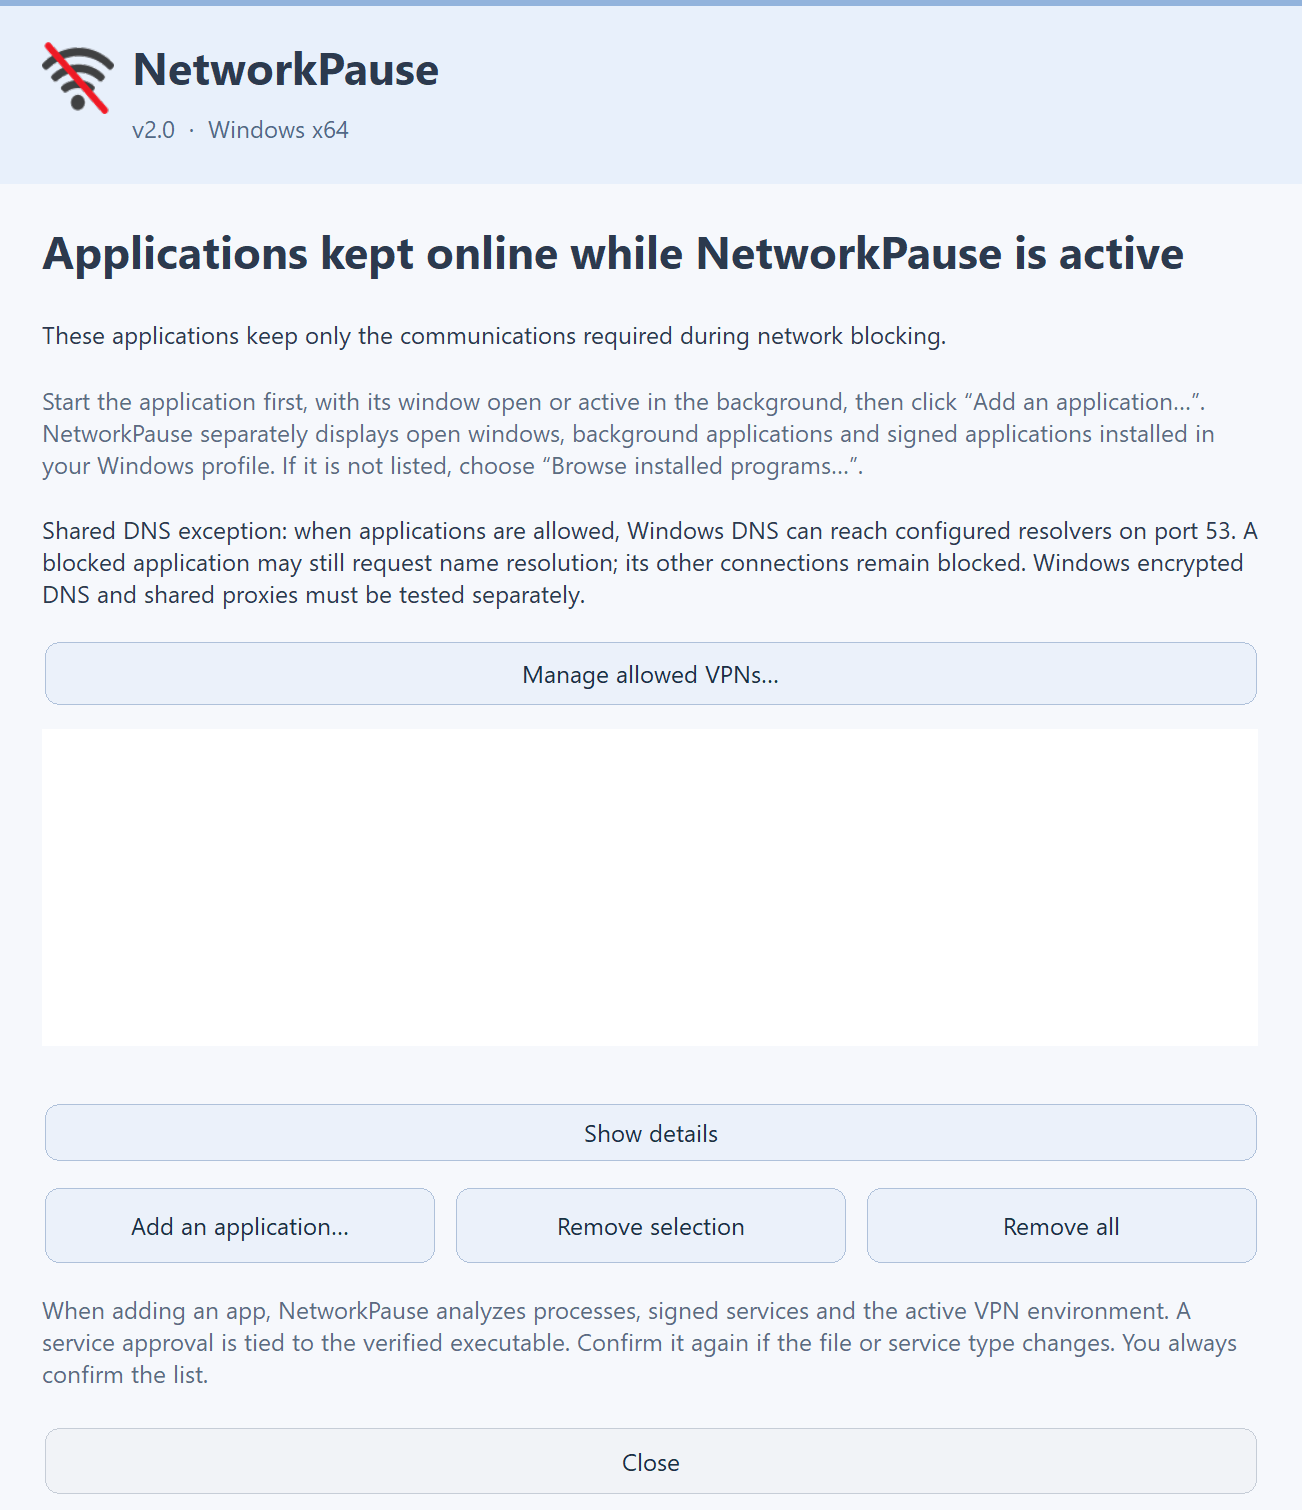
- Open Applications kept online → Add an application…. Pick the app or use Browse installed programs….
- Review the proposed executables and services. An associated component in another folder requires separate confirmation. A stopped component or one whose relationship cannot be detected may need to be added manually.
- Start a simulation and make a new connection in the allowed app. Repeat in an app that should be blocked.
Files must be in eligible locations. In particular, apps installed under %LOCALAPPDATA%\Programs must be signed. An update may require reapproval. With exceptions configured, the Windows DNS service can still resolve names. Resolving a name therefore does not show that an app has network access.
Show details displays allowed executables and services. If you remove a component associated with an app, NetworkPause asks for confirmation before removing the group. Components still needed by another allowed app are kept.
Allow a VPN
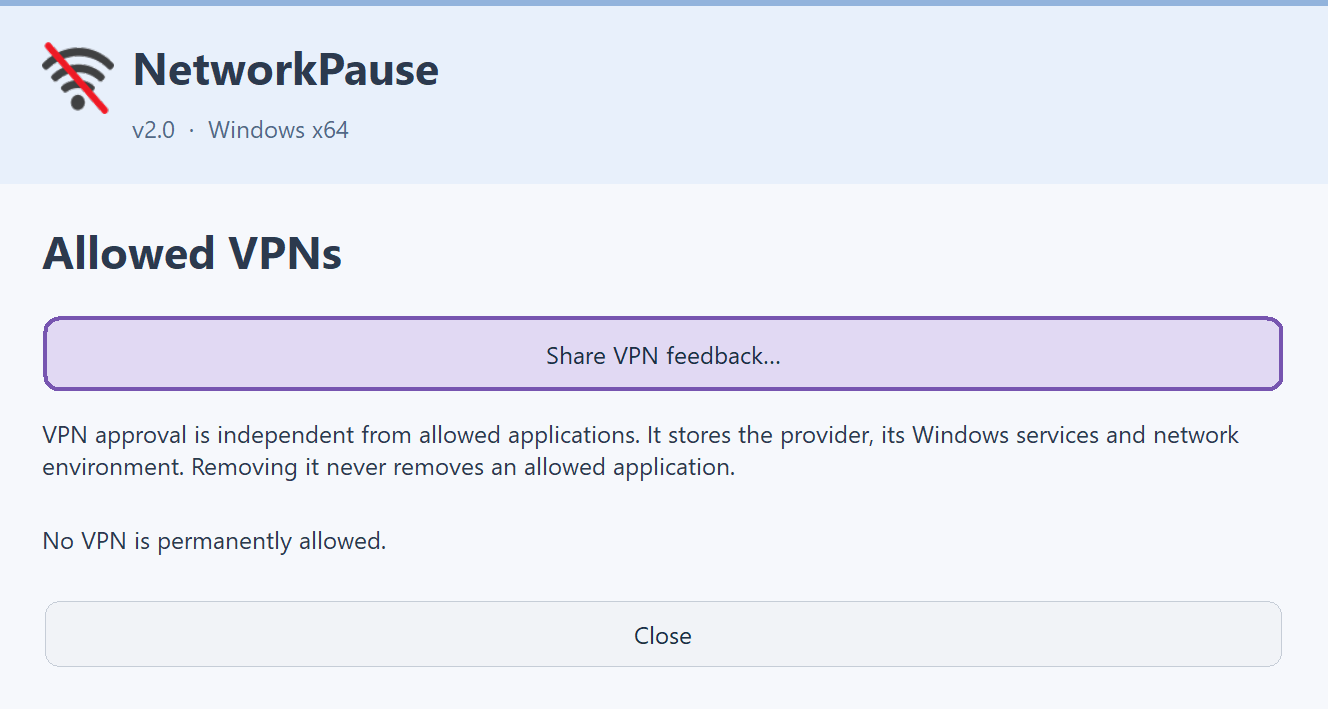
Connect the VPN first. In the VPN section of the main window, select Manage. When a tunnel is detected, you can allow the VPN for the current Windows session or permanently. Also allow the apps that need to stay connected during the block.
A session approval ends when you sign out of Windows or restart the NetworkPause service. Revoking VPN approval keeps app exceptions in place. To disconnect the tunnel itself, use your VPN client.
When an active VPN has no approval, apps kept online may lose Internet access during blocking. After switching servers or protocols, check that the tunnel reconnects and make a new connection in an allowed app. Use Share VPN feedback… to say whether your setup works.
Test protection
In firewall mode, click Simulate protection, select Simulate network blocking now and confirm. The test applies the actual block for 10 minutes while keeping the desktop accessible. Run it at the PC so you can stop it.
- Make a new connection in an allowed app. If you use a VPN, check the tunnel status too.
- Make a new connection in an app that should be blocked.
- Clear the checkbox to stop and check that network access returns. During the last minute, a countdown offers to extend the test by ten minutes.
Network change notifications wait for the simulation to end. If a change persists after the network has recovered and stabilised, NetworkPause applies it and lets you know.
Troubleshoot the network
- Check configuration reports the service state, mode and selected screen saver.
- Restore network… appears in Advanced settings when NetworkPause signals a block, recovery or error. Follow the state on the main window.
- Export diagnostics… creates a local report. Review it before sharing it.
- Exit completely and stop the service… requests network restoration and stops the service. To restart it, use Start the NetworkPause service or the main protection button.
Verify the setup in your normal conditions. To check that the block holds when Windows turns off or dims the display, let the screen saver start automatically and test this separately.
Update or uninstall
Open Advanced settings → Check for updates. If an update is offered, Download and install starts the download and verification. Windows may then ask you to approve installation. Check the installed version in App information.
To uninstall, open Windows Settings → Apps → Installed apps (or Apps & features on some Windows versions), choose NetworkPause and select Uninstall. Windows may finish removing some files after restarting.
Information
DNS and VPN warning
When starting a VPN or switching from OpenVPN to WireGuard, for example, the VPN client may recreate the tunnel. Windows may then change the Internet route and the DNS servers it uses to find site addresses. During that transition, a browser can report that a DNS address can’t be found, sometimes followed by a network change message. Reload the page once the tunnel has reconnected.
The browser can use a different DNS server from Windows. With “Secure DNS” (DNS over HTTPS, or DoH), a browser can send requests to a chosen provider. That server may be temporarily unreachable after a tunnel change. Some settings allow the browser to fall back to Windows DNS. Others keep requiring the selected provider. In that case, sites may remain inaccessible in that browser even though the VPN is connected and other apps work.
To identify the cause, wait until the VPN says it is connected, then try the same site in another browser while NetworkPause is neither simulating nor blocking. If only the first browser fails, compare its Secure DNS setting with the other’s. To confirm, try using Windows DNS in the first browser, following your VPN provider’s guidance. If the issue occurs only during simulation, also check the browser and VPN permissions in NetworkPause.
Antivirus software and false positives
Some antivirus products may mistakenly flag a NetworkPause file as suspicious. This is called a false positive.
To work, NetworkPause installs a Windows service and controls network connections and firewall filtering. These legitimate operations can resemble behavior monitored by antivirus software and contribute to an automatic detection. This is a possible explanation, not proof that a particular alert is incorrect.
If an alert appears, download only from the official LoLoff website, note the detection name and report it to the developer so it can be checked with the antivirus vendor. Do not disable your antivirus to bypass the alert.